Sunday, April 22, 2012

Tokyo Travels, Final


This week, I finished work for my final project. I added two detailed objects to my project, a statue of a cat which is a symbol of good fortune in Japan, and a Transformers inspired robot bust, which I am a huge fan of. This is a screenshot of the initial scene, with no textured applied.


The first thing I created was a Transformers logo, for the label on the bust. I created the logo using splines in 3ds Max, and then opened up Illustrator to create a texture for it. I did not use the trace tool for this, as the final result looked shakey and unsharp. So I manually traced an outline of the logo using the lines tool.


I opened the outline in Photoshop and filled in the colors, using gradients and bevel.


I also created a texture for the bump map.


Next, I wanted to create some eyes for the robot. The map for the 3d Model of the eyes portion of the robot looks like this. I took a screenshot and opened it up in AI. I then traced the eyes manually, once again using the line tool. 
I deleted the screenshot, and was left with this.
Again, time to fill in with Photoshop. I added color, gradients, and bevel once again.
I also created a bump map.


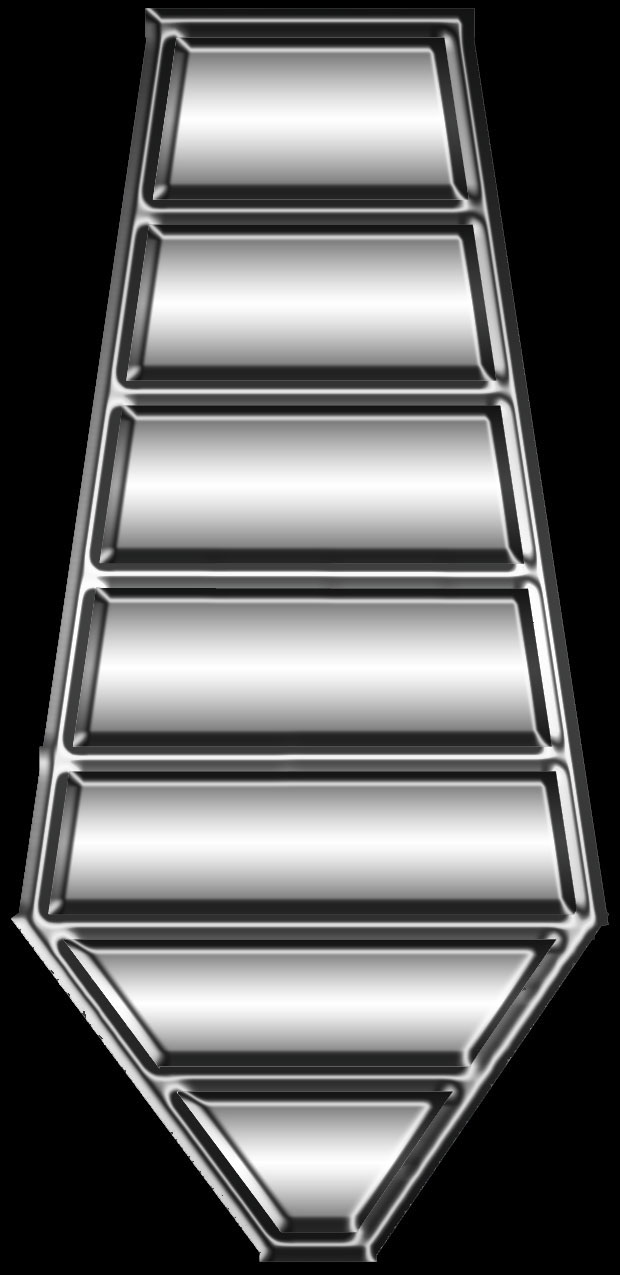
The following four pictures below was the same technique as the eyes. This is for the piece on top of the robot's head


This is the same for the bottom half of the robot's face. This is the screenshot of the map.
 Photoshop bevel and gradients.
 Bump map.


 For the cat's face, I did something similar. I started with the screenshot of the 3d map.


This time though, I drew the face in using a combination of the shapes, lines and arc tools.


Here, I created the coin that the cat is holding in AI.
Finished in Photoshop with gradients/bevel.

Cat Paw outline created in AI.

Photoshop with gold claws, red paws. 

Cat ears created in Photoshop, applied with radial gradients.

Final project, with both cat and robot in scene. Closeups of cat and robot are below.


Friday, April 13, 2012

More Tokyo Travels


So this week, I continue my work on the final project. I will start with posting the untextured 3d scene I have created earlier this week.


I thought that the cherry blossom picture on the divider was lacking last time, so I began by adding more branches and flowers to it in PS.

 I realize I need to create rice for the sushi plate I am making in 3d, so I start by making it one and applying bevel and shadows to it.


 Then I clone them, rotate them, and place them in all kinds of directions. 


Finally, I clone batches of rice, and I have my final rice texture.

 Next, I need to create fish for the sushi, and create textures for the sushi rolls as well. I create these in Illustrator, various types of fish, and the long green strip will become the seaweed that is often served with sushi.


Time to open up Photoshop, apply textures, bevel, shadows, and gradients.

This is how it looks in 3d. Now, its not quite done yet. One of the neat things about creating in 3d software is that they allow something called bump maps. Bump maps are just that- they will create bumps for you. As pretty as smooth and glossy surfaces are, not everything is as smooth or glossy. With a bump map, you can add bumps to the existing textures to make things look more realistic.

Take this for example. This is just a image I created with Photoshop patterns. If you notice, it is in black and white. The white will tell the software to raise the bump up, while the black tells to raise the bump down. Varying shades of grey will give you something in between.


Same with the wood bump map. It is again, in black and white.


Final scene, note the bump maps applied to the cherry blossom divider, and to the coffee table.

I also added a couple of photographs from my trip. I hope to add trinkets, toys, and more photos for the final submission.
  

 Also, a close up of the sushi plate so you can see more of the details.


Friday, April 6, 2012

Tokyo Travels

This week, I began my work on the final project. I have named this project "Tokyo Travels", and my aim is to create an image with can represent my trip to Tokyo. I am planning on adding many objects that would be similar to a 3d scrapbook.

So here we go. First thing, I need to create a cherry blossom design for a Japanese divider that will set the backdrop of the room. I started by creating it from scratch in Illustrator.


Next, I took the paintbrush tool in AI and created branches, and then duplicated the blossoms, scaled them to varying sizes, and stuck them all over the branches.


I needed a label for my sake bottle, so I created a simple design in AI, and even added in the cherry blossom from the previous design.
 I opened it up in Photoshop, and added borders, textures, and brightened up the color a bit.


Finally, I opened up 3ds Max and applied both textures to my divider and the sake bottle on the coffee table. The wood texture is the same wood texture I created from the previous project, the baby nursery, except that it is a bit lightened.

My intention is to create many little objects and knick knacks that will be representative my Tokyo trip. I plan on planing the objects on the coffee table, and hope to add more to the background as well, to minimize the black space.


Note: I am also attaching a screenshot of what the scene looks like without the textures applied.

Friday, March 23, 2012

The Night Before, Final

 Alright, so this week, I began work on the centre piece of the nursery, which is the baby quilt. Since this is the first object I wanted the viewer to draw their attention to, I decided to create a quilt from scratch. Now, I am a guy, I have never done any sewing or knitting or any kind of quilt making. So when I found out that this entire project had to be from scratch, I did debate back and forth whether or not to create a quilt as the centre piece. In the end, I did decide to make it, only because the nursery wouldn't look the same without it, and without it, it would be missing the personal touch that this nursery needed to stand apart from generic nurseries.


 So here we go. I must have spent ages on this part, redoing this over and over again, but I began to understand Illustrator more as a result. The first was creating an outline of the quilt, I made each "patch" unique and used the shapes and lines tool to create each design.


I opened the blank design in Photoshop and began filling in the quilt. I added lots of colors, patterns(default Photoshop patterns), more shapes, letters, numbers, and more. I applied a texture to the entire quilt, to give it the look of fabric. I wanted a "homemade", almost homely quilt look, to go with the mood of my nursery.
 I finished the quilt by adding in a fabric/denim looking border(its actually the bubble texture scaled down significantly), and finished my quilt. Time to apply it to the final scene.
I applied the texture, and fixed the lighting a bit as well, for better viewing and to emphasize a night scene.

Friday, March 16, 2012

The Night Before, Prelim, Round 2

OK! Well, I am slowly getting more comfortable with Illustrator. I am beginning to really enjoy doing the cartoon/tracing work, and this time, I have done a trace of a few zoo animals, and plan on coloring them different colors to decorate the newly added wallpaper border and the lamp that I've put in my nursery this week. 
 After I opened this in Photoshop, I began to play around with the textures a bit. I wanted a fabric look, but not too fabric-esque. After all, this is a lampshade and wallpaper.

I added some borders, top and bottom, and aligned the animals side by side. I added a few more fx textures in Photoshop.
So the Prelim Round 2, I have added a lamp(with a dim lighting effect), and covered the lampshade with the new animal design. I also added wallpaper border with the same animal design. I also added the 3d white airplane(still untextured), and moved the train artwork to above the lamp to get the full lighting effect of the lamp. Finally, I needed something to place the lamp on, so I created a night stand. Still planning on adding curtains, baby toys, and maybe a background for the window.